
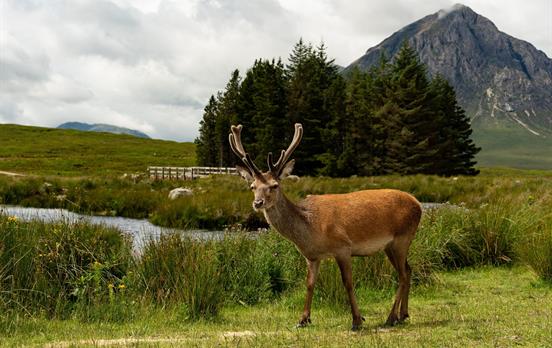
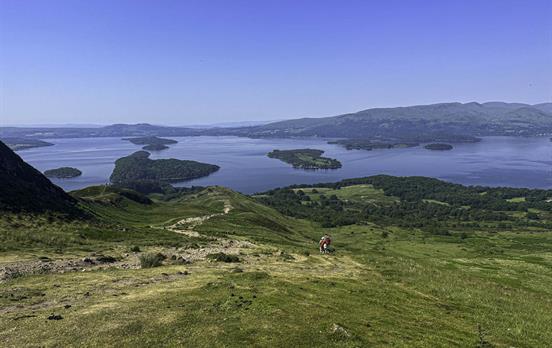
Having learnt about the symbols you can find on an Ordnance Survey map, the next step to becoming a map reading guru is understanding grid lines and references. While grid lines exist on most maps, we’ll stick to using an OS map as an example, as they are the most commonly used in the UK. Grid lines are the faint blue lines which traverse the map. These lines are numbered so that you can figure out your grid reference – the precise point at which you are located on the map. This can be useful if, for example, you become lost and need to relay your location to a mountain rescue team. The numbers going horizontally across the map from left to right are called Eastings (shown in pink in the picture below) because they are heading from west to east on the map, and the vertical lines from bottom to top are called Northings (shown in green), because they go from south to north on the map.

Image taken from OS Explorer 191
There are two types of grid reference: four-figure and six-figure. The four figure grid reference is easier to calculate, but on a 1:25000 scale map, it gives an area of an entire square kilometre. Six-figure references, on the other hand, give a much more precise location. Of course, we must remember that it is only possible to calculate your grid reference if you know where you are. If you get lost, you will want to pinpoint your location, which is something we’ll learn later in the series. So, how can you calculate your four-figure grid reference? Firstly, you need to determine which square you are in on the eastings line. Take a look at the blue numbers on the top or bottom of the map and trace the line to your chosen square. Next, take a look at the numbers on the left or right of the map and again trace the line to your square. In the picture below, try to figure out the four-figure grid reference for the highlighted square.

Next is the six figure reference. This one is a bit more complicated because it requires you to use your imagination! You need to take your four figure reference and add a couple of spaces, like this: 29_21_. Next, we need to visualise a grid on the square, with ten smaller squares horizontally and vertically, like this:

Now we have to estimate our position within this smaller grid. Using the square 29_21_ as an example, if we imagine we are at the crossroads of the two footpaths (highlighted in yellow in the picture below), we can fill in the spaces in the six figure reference. Take a look at the picture below and give it a shot! This is not a particularly precise art, so try to estimate as best you can.

So our grid reference is 296213. It is a good idea to select small features on a map and try to determine their grid reference - this will stand you in good stead when you are out exploring! For more information, check out OS's own excellent guide to map reading or have a look at their video below.
Our next instalment will be on using land features to pinpoint your location - a very useful skill if you have no idea where you are! Learn more about Ordnance Survey's new #GetOutside campaign here.


 Australia
 New Zealand
 South Africa
 European Union